

Àpèjúwe
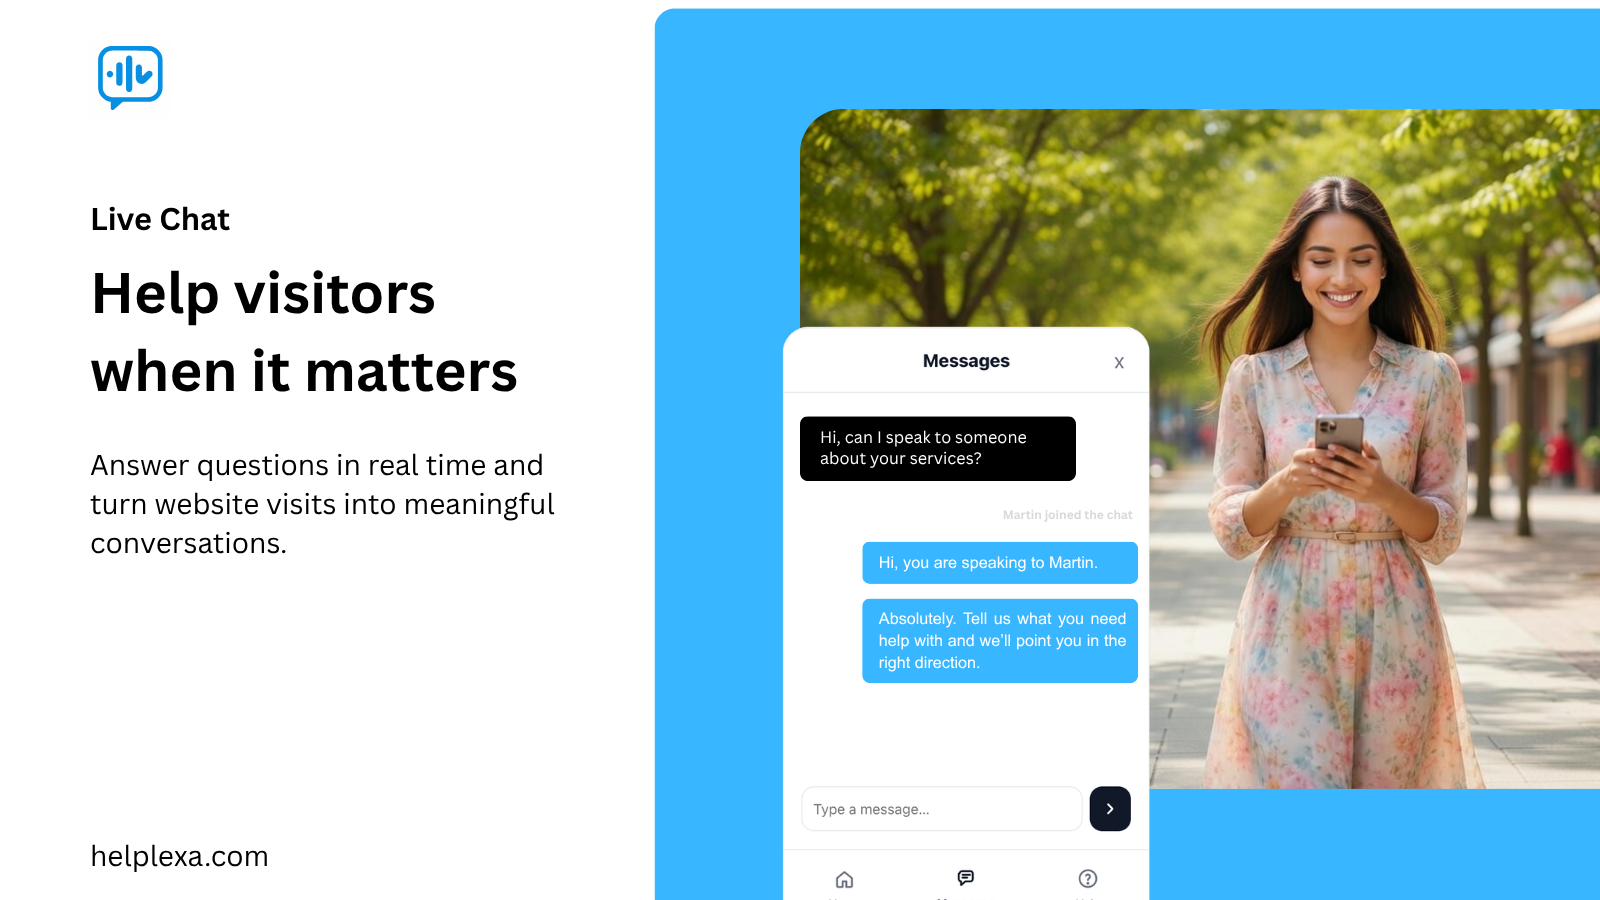
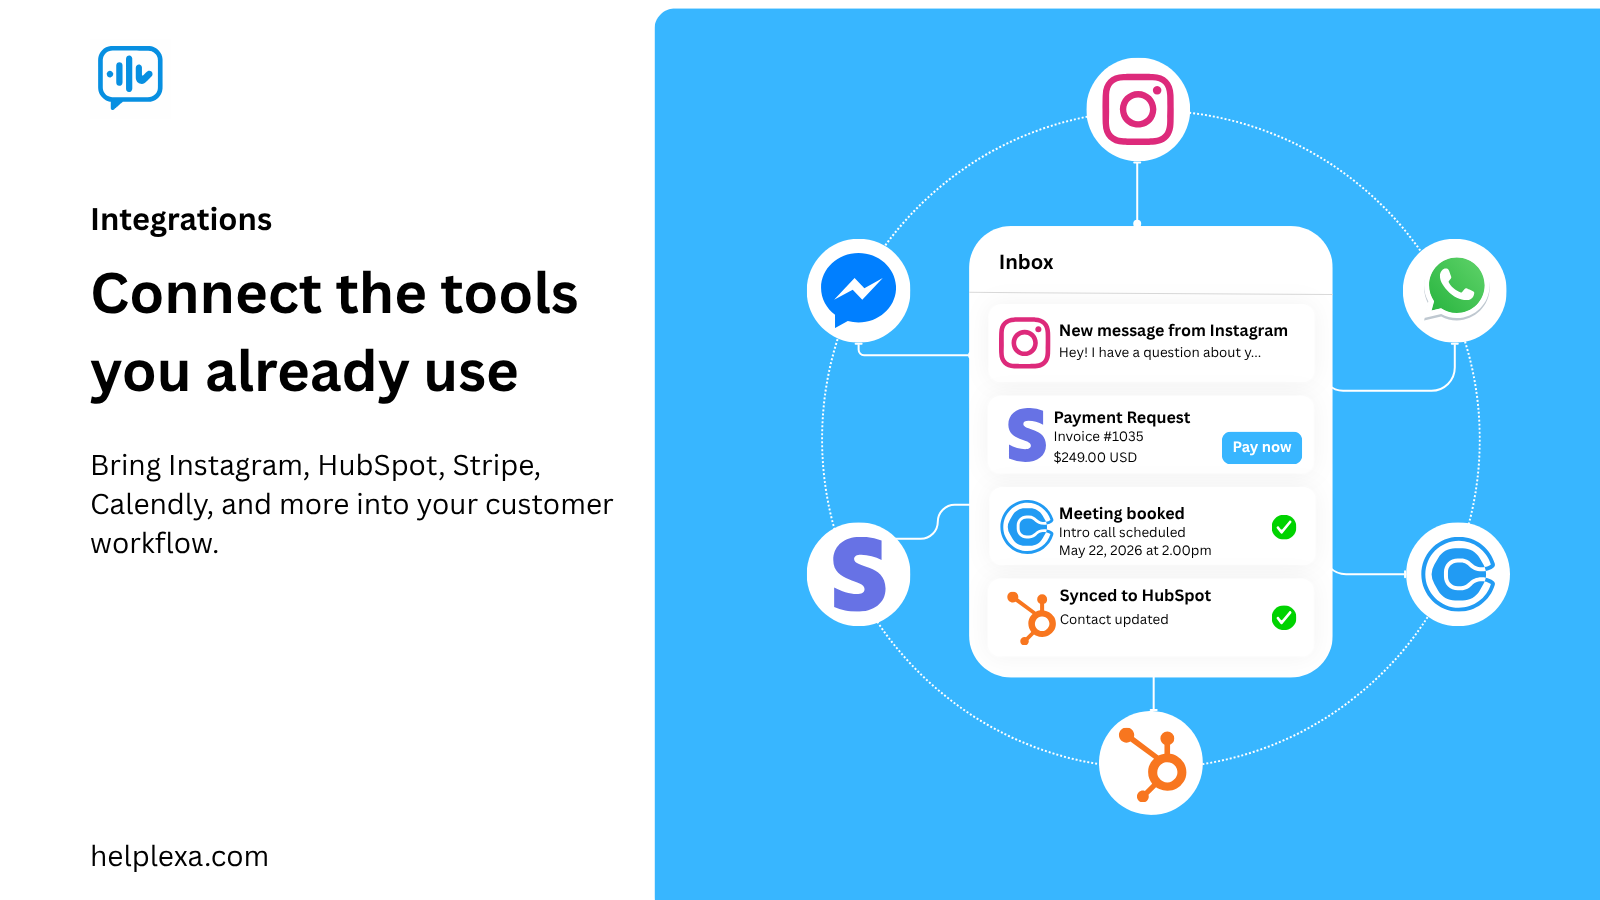
The Helplexa Live Chat plugin connects your WordPress site to your Helplexa workspace, allowing you to:
- Embed the Helplexa live chat widget on your site
- View and respond to customer chats inside Helplexa
- Manage widget creation, domain selection, availability, and embedding from Helplexa
- Reply to conversations on desktop or from the Helplexa mobile apps
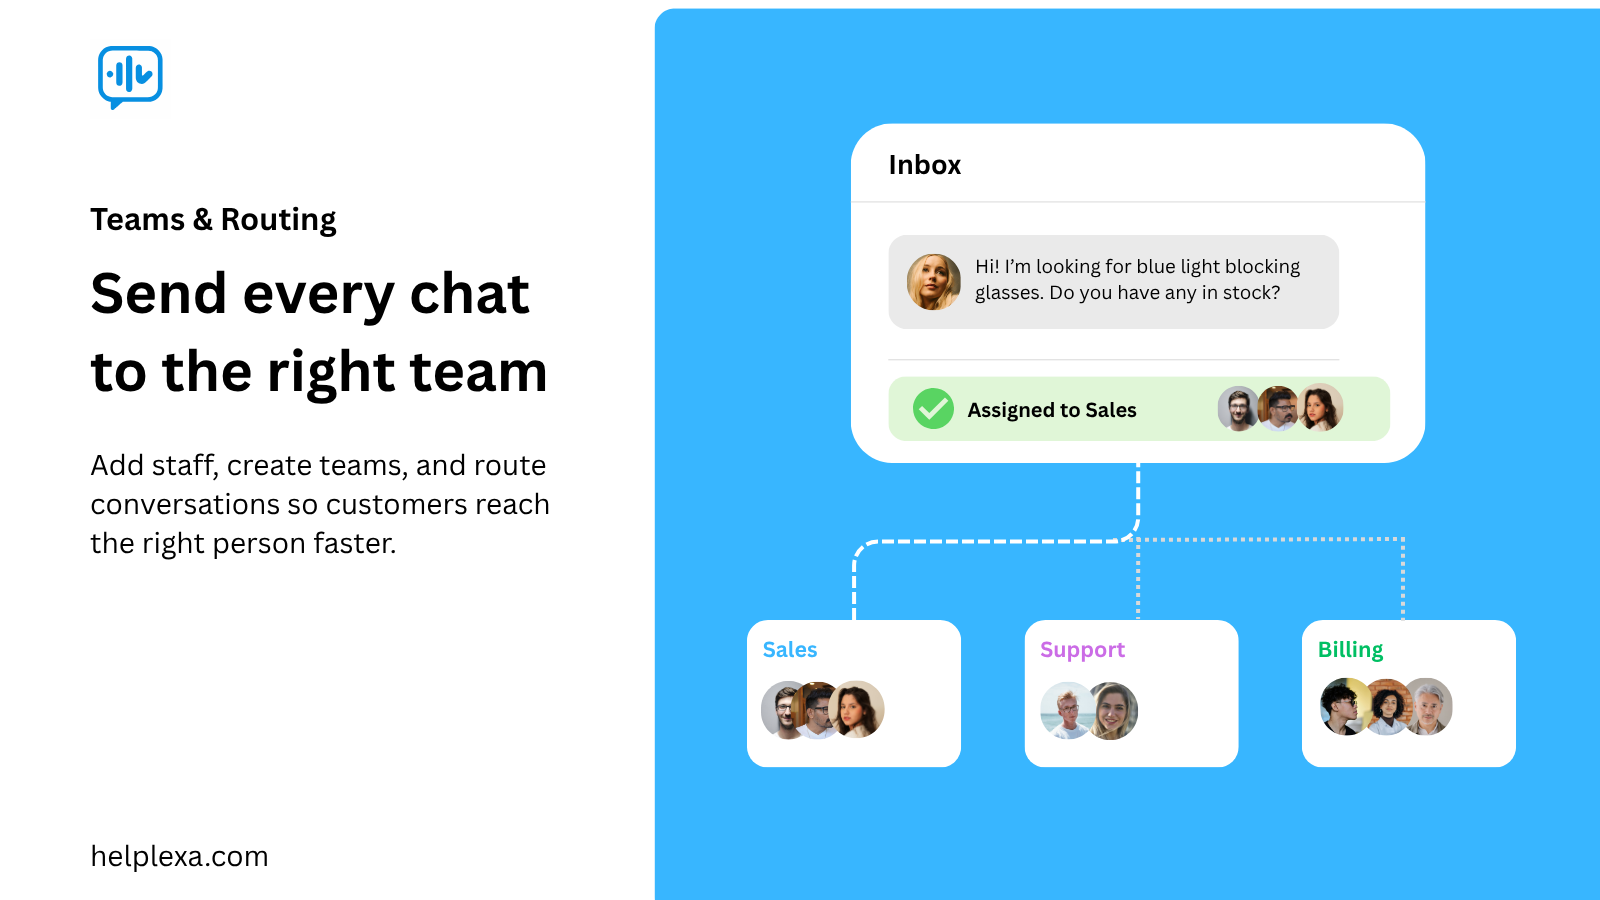
- Link workspace users and create teams to manage customer conversations
- Route conversations to the right users or teams
- Manage connection settings from WordPress and widget settings from Helplexa
A Helplexa account is required to use this plugin.
Create your free Helplexa account or view plans and pricing.
External Services
This plugin connects to Helplexa to authenticate your account, link your WordPress site to your Helplexa workspace, receive widget embed settings, and load the Helplexa live chat widget when embedding is enabled.
A Helplexa account is required. Use of Helplexa is subject to the Helplexa Terms and Privacy Policy:
Displaying the Chat Widget
After connecting your WordPress site:
- Log in to your Helplexa dashboard.
- Go to Widgets and either create a new chat widget or edit an existing one.
- Under the widgetÌtumọ̀ Yorùbá: ’s Domain Settings, click Change Domain.
- Select Integration Domain, then choose the domain linked to your WordPress site.
- Make sure the widget is enabled in its availability settings.
- Go to Integrations WordPress in Helplexa.
- Toggle embedding on.
Your Helplexa chat widget will now appear on your WordPress site. No code or script snippets are required.
License
This plugin, all included libraries, and any other included assets are licensed under the GNU General Public License version 2 or later.
Àwọn àwòrán ìbòjú

Ìgbéwọlẹ̀
A Helplexa account is required to connect your site and manage the live chat widget.
Install from WordPress admin
- In your WordPress admin, go to Plugins Add New.
- Search for Helplexa Live Chat.
- Click Install Now.
- Click Activate.
- Go to Settings Helplexa.
- Click Connect Helplexa and follow the on-screen steps.
Manual upload
- Download the plugin ZIP file from WordPress.org.
- In your WordPress admin, go to Plugins Add New Upload Plugin.
- Upload the ZIP file and click Install Now.
- Activate the plugin.
- Go to Settings Helplexa.
- Click Connect Helplexa and follow the on-screen steps.
After connecting, return to your Helplexa workspace to create or link a widget to this WordPress domain and enable embedding.
FAQ
-
Do I need a Helplexa account?
-
Yes. Create a free Helplexa account or view plans and pricing.
-
Where do I create widgets?
-
Widgets are created inside your Helplexa workspace. After connecting this plugin, choose the connected WordPress domain from the widgetÌtumọ̀ Yorùbá: ’s integration domain option.
-
Can I display the widget only on certain pages?
-
This plugin loads the widget when embedding is enabled from Helplexa. Widget visibility and availability are controlled from your Helplexa widget settings.
-
How do I remove the widget from my site?
-
Turn embedding off from the WordPress integration settings page inside your Helplexa workspace, or disconnect the plugin from Settings Helplexa in WordPress.
Àwọn àgbéyẹ̀wò
Kò sí àwọn àgbéyẹ̀wò fún plugin yìí.
Àwọn Olùkópa & Olùgbéejáde
“Helplexa Live Chat” jẹ́ ètò ìṣàmúlò orísun ṣíṣí sílẹ̀. Àwọn ènìyàn wọ̀nyí ti ṣe ìkópa sí plugin yìí.
Àwọn Olùkópa
Túmọ̀ “Helplexa Live Chat” sí èdè rẹ.
Ṣe o nífẹ̀ẹ́ sí ìdàgbàsókè?
Ṣàwárí koodu, ṣàyẹ̀wò ibi ìpamọ́ SVN, tàbí ṣe àgbékalẹ̀ sí àkọsílẹ̀ ìdàgbàsókè nípasẹ̀ RSS.
Àkọsílẹ̀ àwọn àyípadà
0.1.0
- Initial release.
- Connect your WordPress site to Helplexa.
- Embed a Helplexa live chat widget from your Helplexa workspace.